Lead Forms in Landing Pages
With the Landing Page Editor in your account you can create forms to gain new leads. You can easily add fields to a form for a user to submit their E-Mail address, name and other customizable information.
What is a Lead Landing Page?
Our Lead Landing Page allows you to effortlessly collect customer information. You create a set of fields within the form (or just use the default fields), connect it to a Short URL, and a QR Code for this URL is created automatically.
After distribution of the QR Code, any prospective client may scan the QR Code and fill out the form. You can also connect the form to a QR Coupon, issuing a one-time redeemable voucher to anyone sharing their contact details with you.
You may also use one of our many CRM-integrations (Hubspot, Salesforce,
...) to directly transfer your leads, or use them in mailing services like Mailchimp.
How can I create a Lead Landing Page?
1. Log into your account
Log into your account.
Login
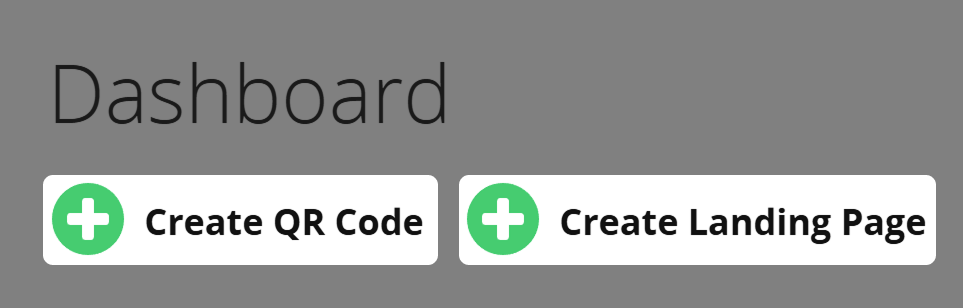
2. Create a new Landing Page or QR Code
Hit Create QR Code or Create Landing Page.
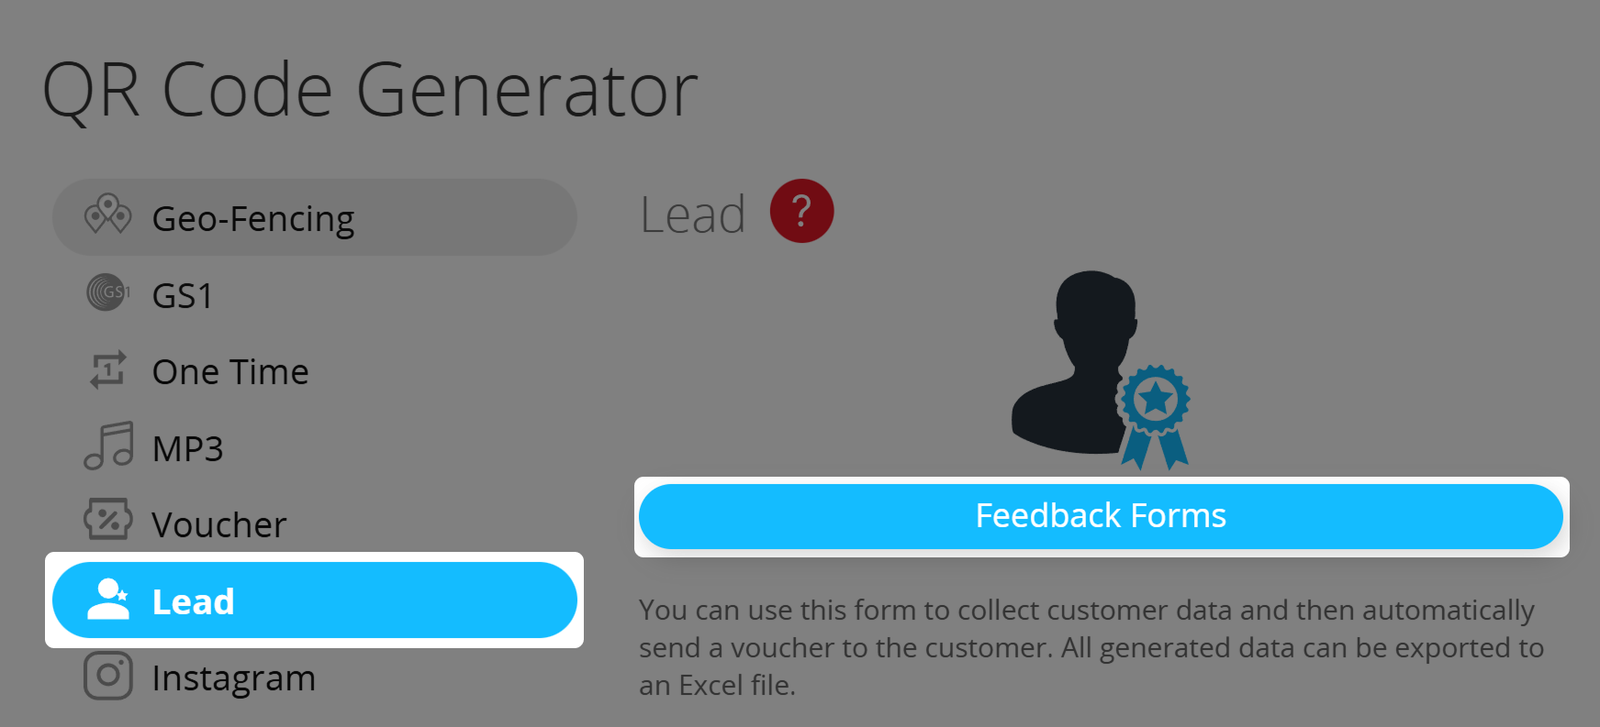
3. Choose Feedback Forms
Then, choose Feedback Forms to open the Lead Landing Page Editor.

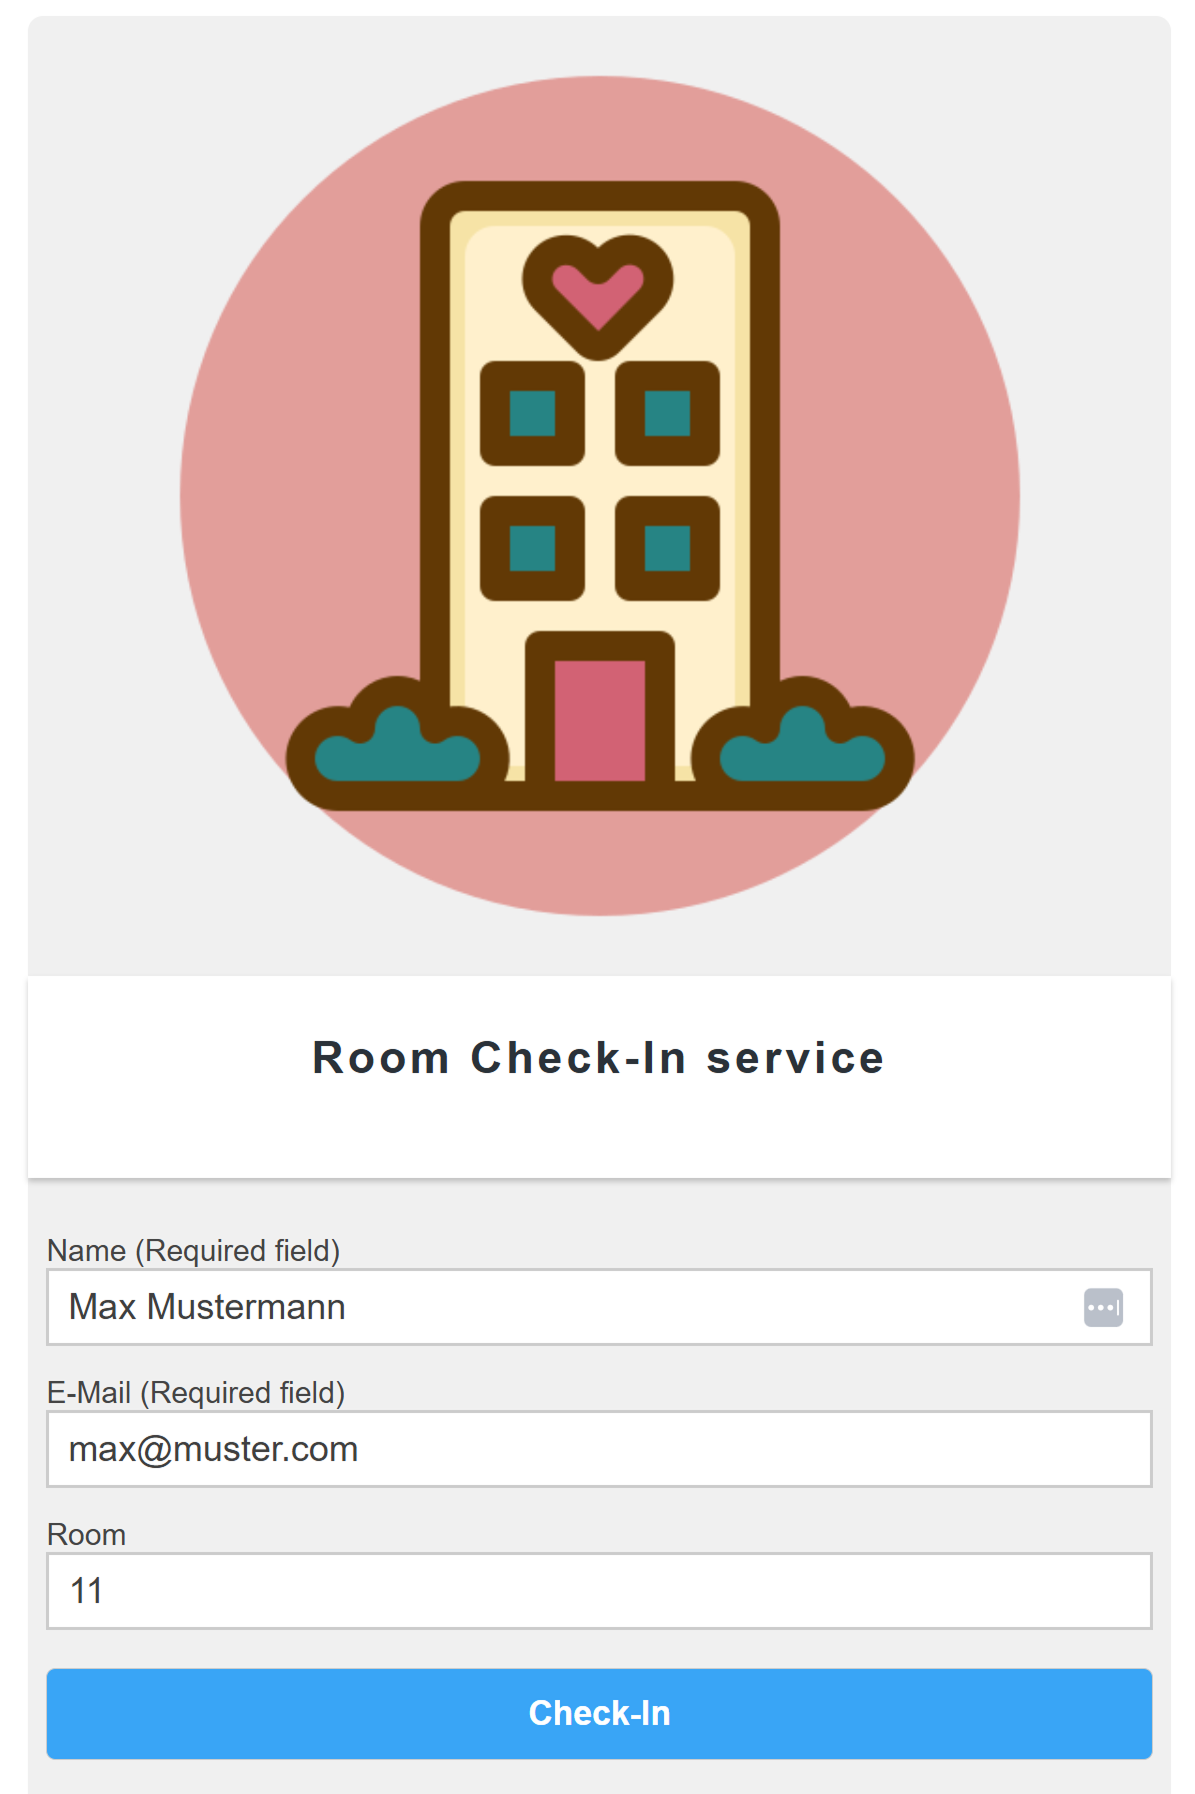
4. Create your Lead Landing Page in the Editor
Once in the Lead Landing Page Editor, create your form as needed. Below, we will go through all options and settings in the Editor.
5. Deploy your QR Code an collect your new leads
Congratulations! You are now proud owner of a brand new Feedback Form and corresponding QR Code. All that's left to do is to spread your QR Code, lean back and get your leads.
Lead Landing Page Settings
Let's go through all possible settings in the Lead Landing Page Editor:
Add Image
You can add an image to your Landing Page to give it a more personal or professional touch .

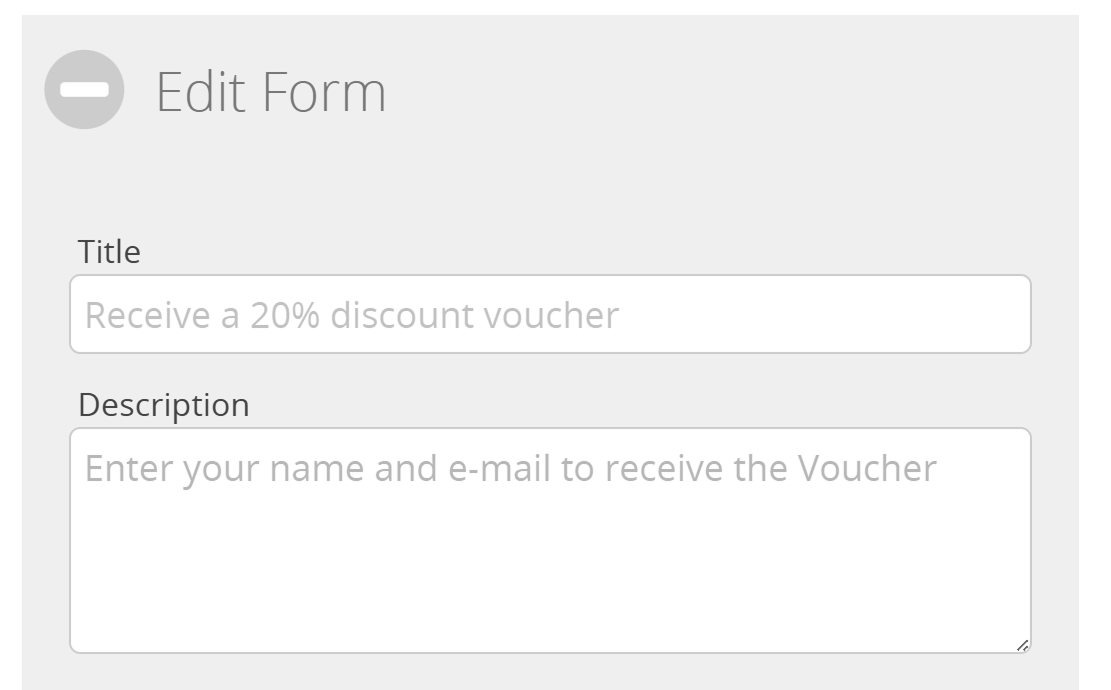
Edit Form
Next, you can edit the Feedback Form itself, starting with title and description.
Then, you can set your form's fields; create different types of fields and arrange them as desired:
- Text
- Password
- Number
- Phone number
- Date
- Radio buttons
- Checkboxes
- Text areas
The fields Name and E-Mail are mandatory, so you can generate leads. If you would like to create a custom form without or with more mandatory fields, follow this guide.
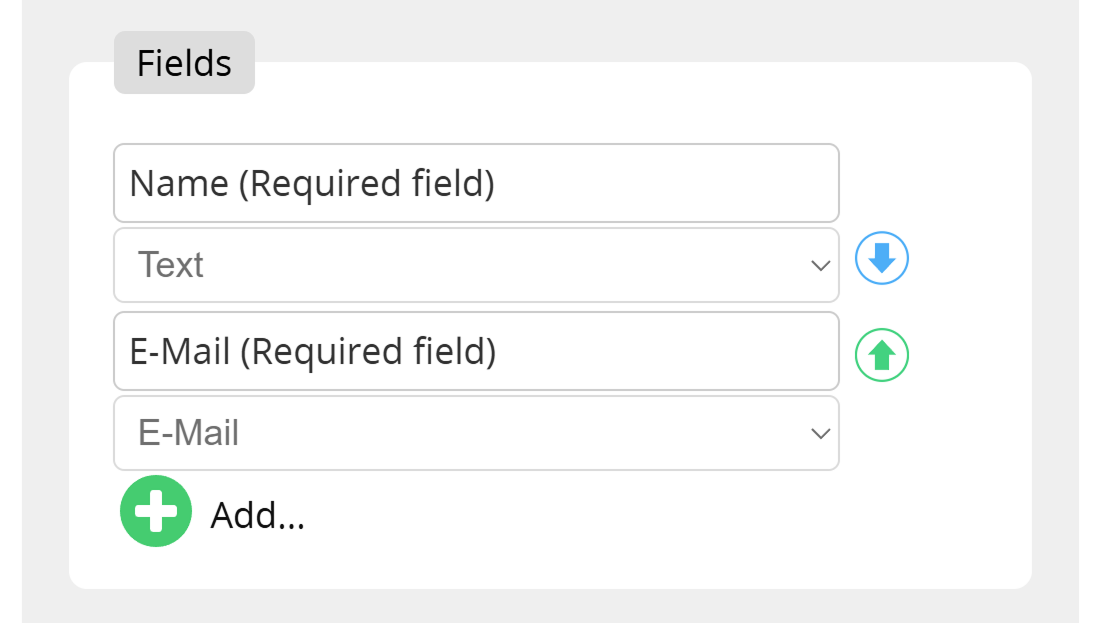
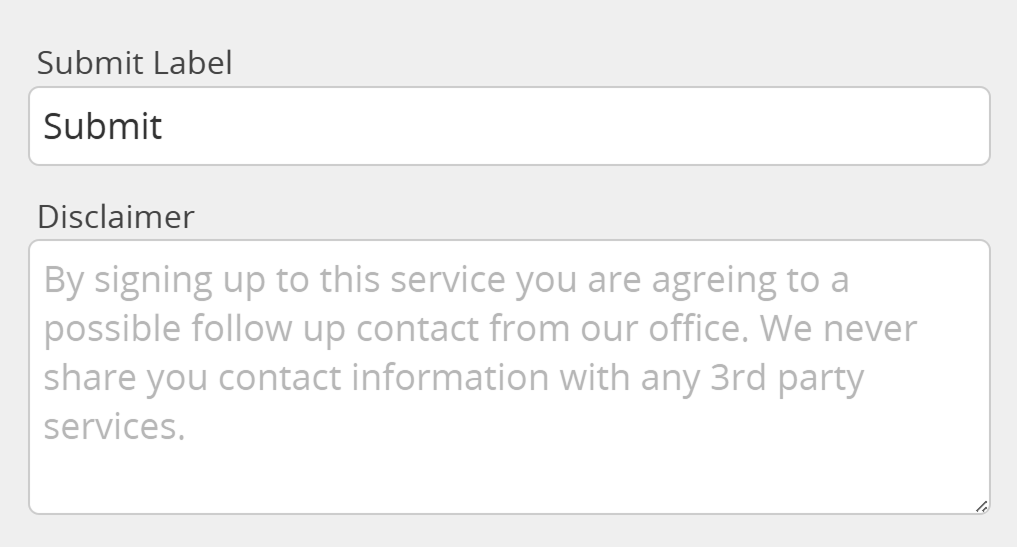
You may also change the label of the Submit Button on your Landing Page, and add a disclaimer to be displayed.
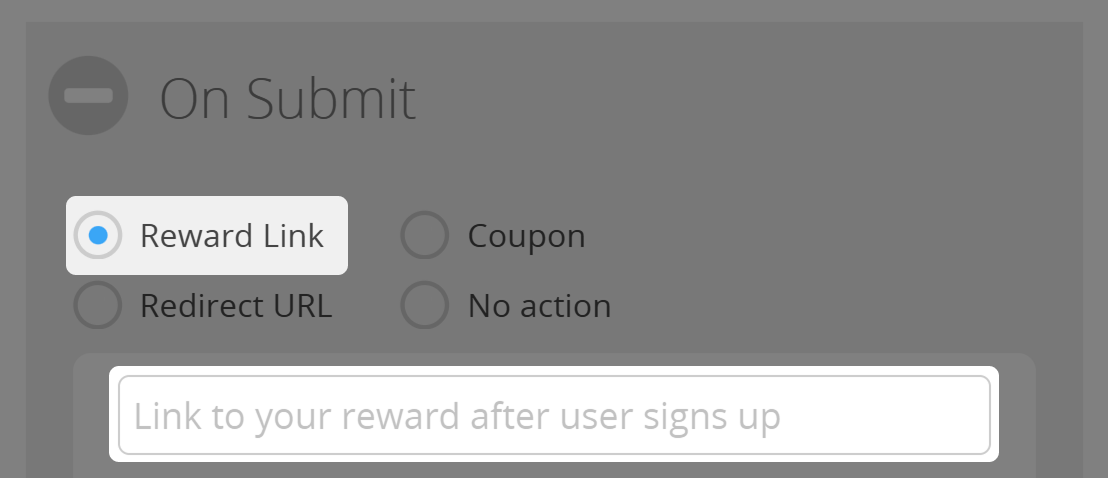
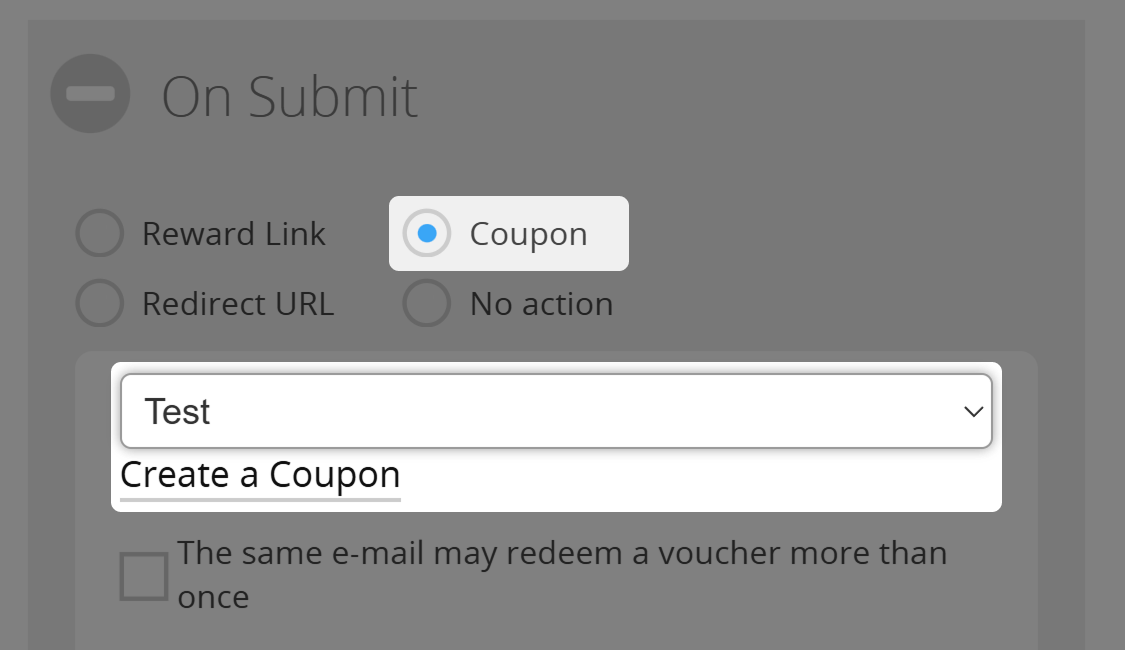
On Submit
Choose from a set of actions to be performed after a form has been submitted by a user:
- Send reward link via E-Mail
- Send voucher via E-Mail
- Redirect URL
- Do nothing
- Fire a webhook
- Notify me on new lead
Reward Link
In appreciation of your new customer's information, you can send them a reward link by E-Mail, allowing them to download a PDF file, view a music video or to be forwarded to any other digital product.
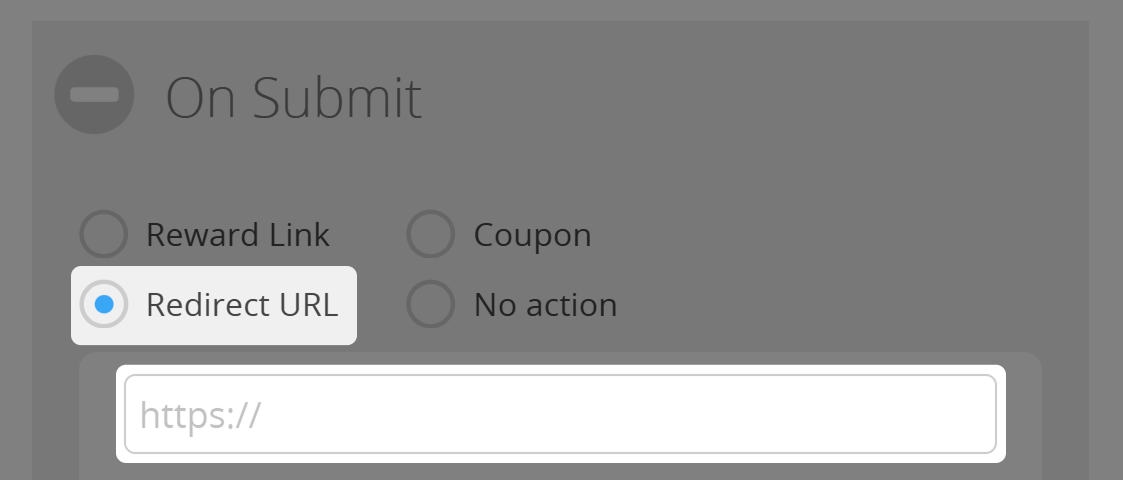
Redirect URL
You may also define a redirection URL within the Lead Landing Page Editor. After registration, users will be redirected there.
Coupon per Lead
You can create a QR Coupon to be sent to the user after registration. Just select the appropriate coupon in the Lead Landing Page Editor, or create a new one.
No action
In this case, no action will be taken after registration. The user will have the pop-up info displayed and the submitted info will be stored as a new lead.
Webhooks
Additionally, you can fire a Webhook when a form is submitted so you can integrate the process of submitting a lead form with any business logic you can think of.
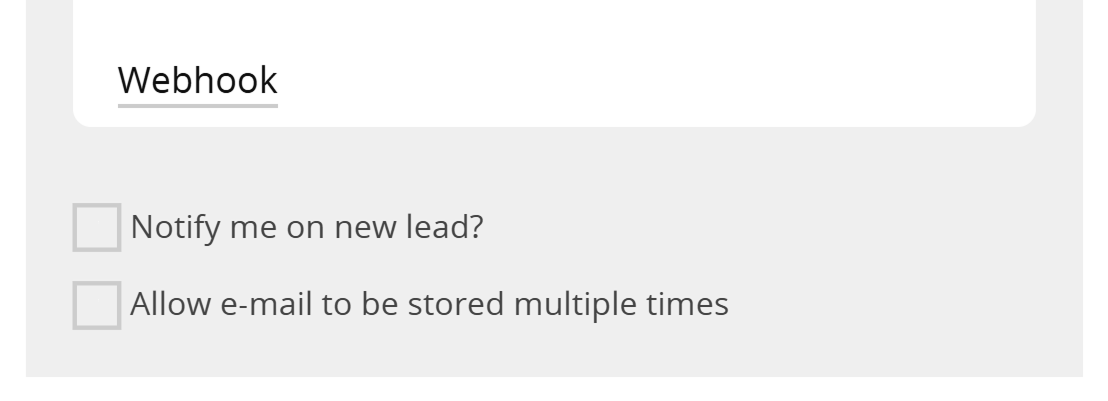
Notify me on new lead
When activated, the account administrator will receive an email after a user has submitted a form.
Allow e-mail to be stored multiple times
If better suited for your needs, you may also allow to store the same E-Mail address multiple times for the same lead form. Else, each E-Mail address can only be saved once per form.
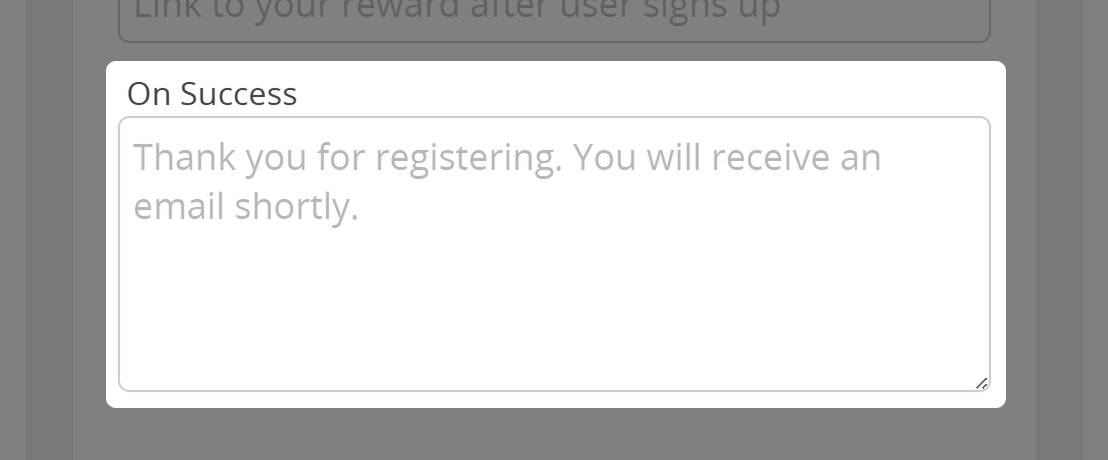
On Success-message
In all the above mentioned cases you can decide to add an optional Success Message to be displayed after a user has signed up.
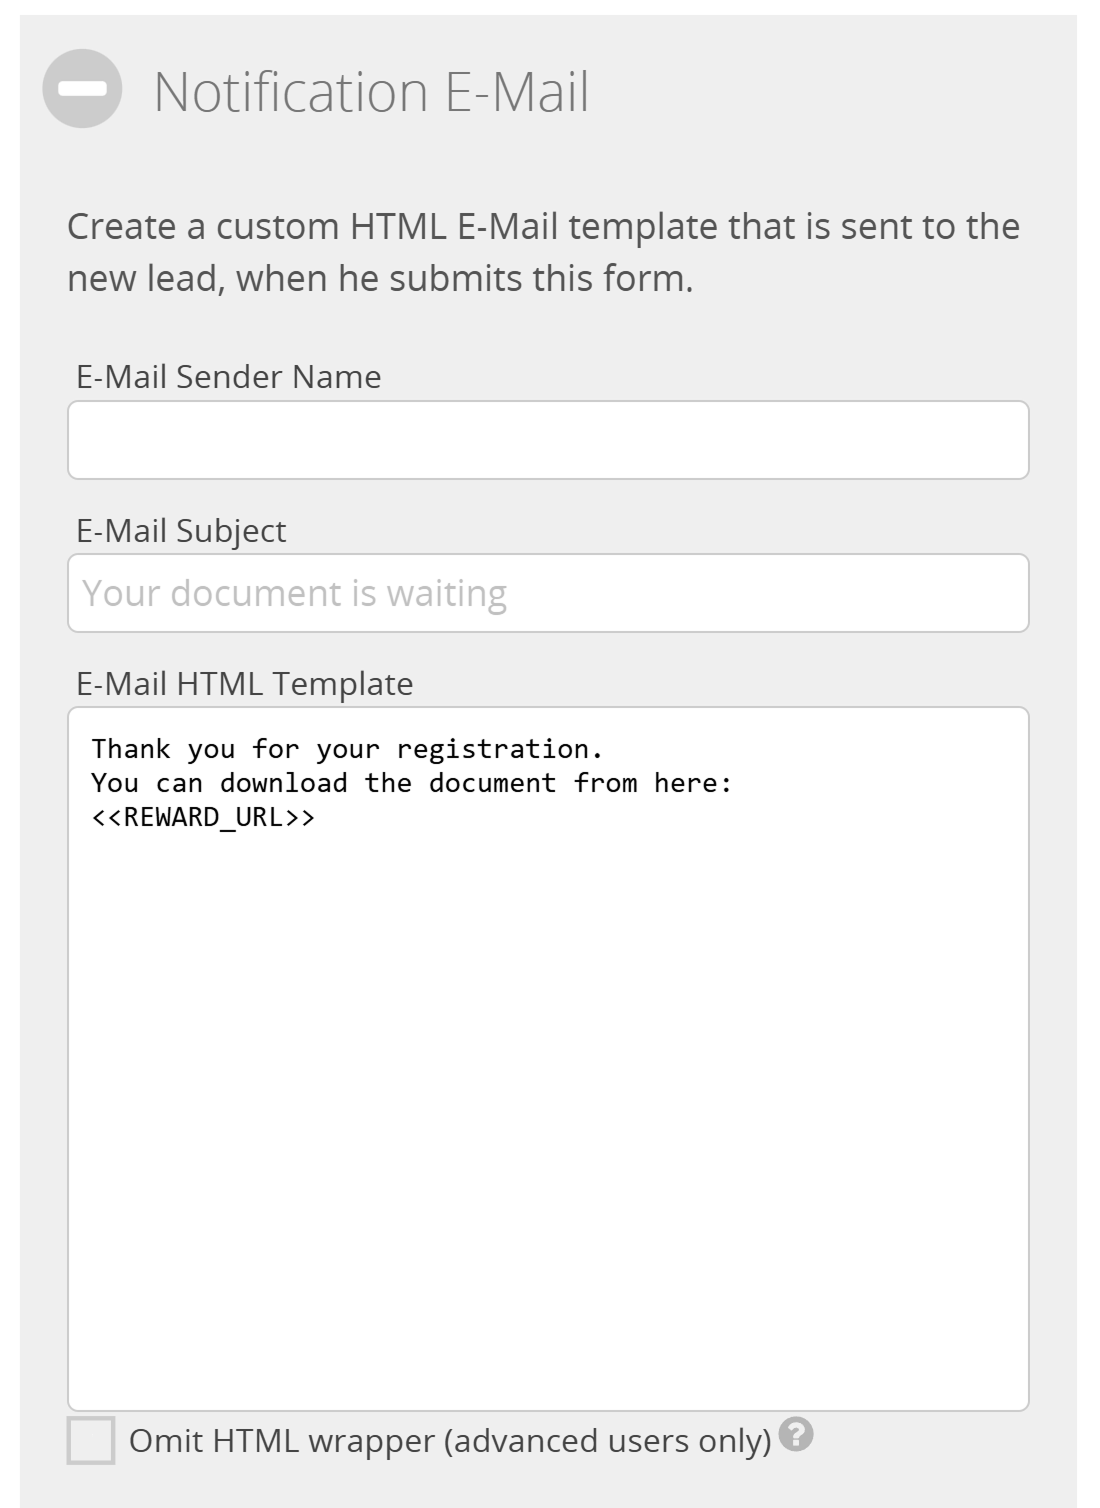
Notification E-Mail
Create a custom HTML E-Mail template that is sent to the user after registration.
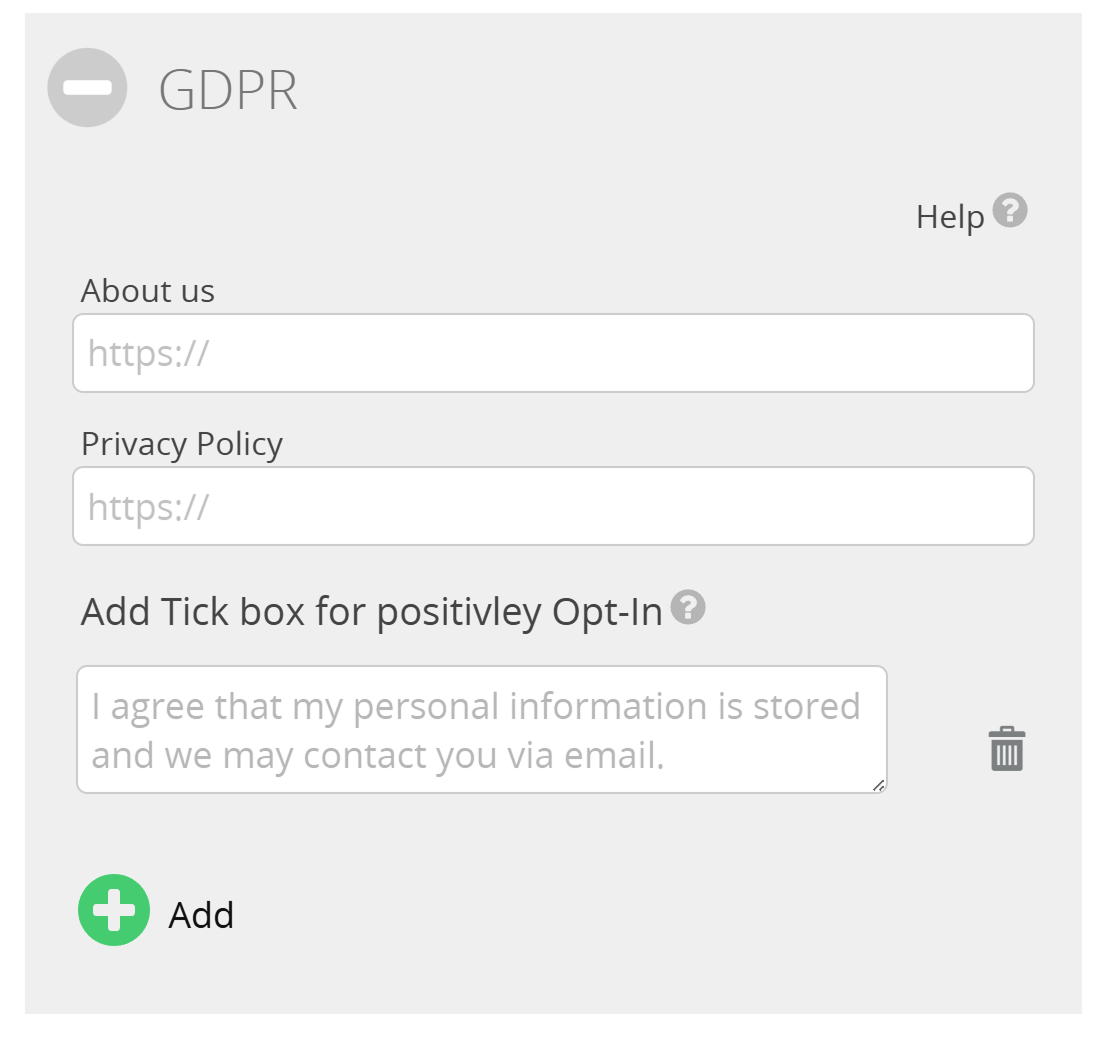
GDPR
If you want to make your landing page fully GDPR /CCPA compliant, you should add a link to your company's Privacy Policy page.
In order to fully comply with the GDPR when a user sends you personal information, you must request their consent. This can be done by giving a a statement of intent, e.g. by marking a checkbox. Add any such checkbox with the Add button.
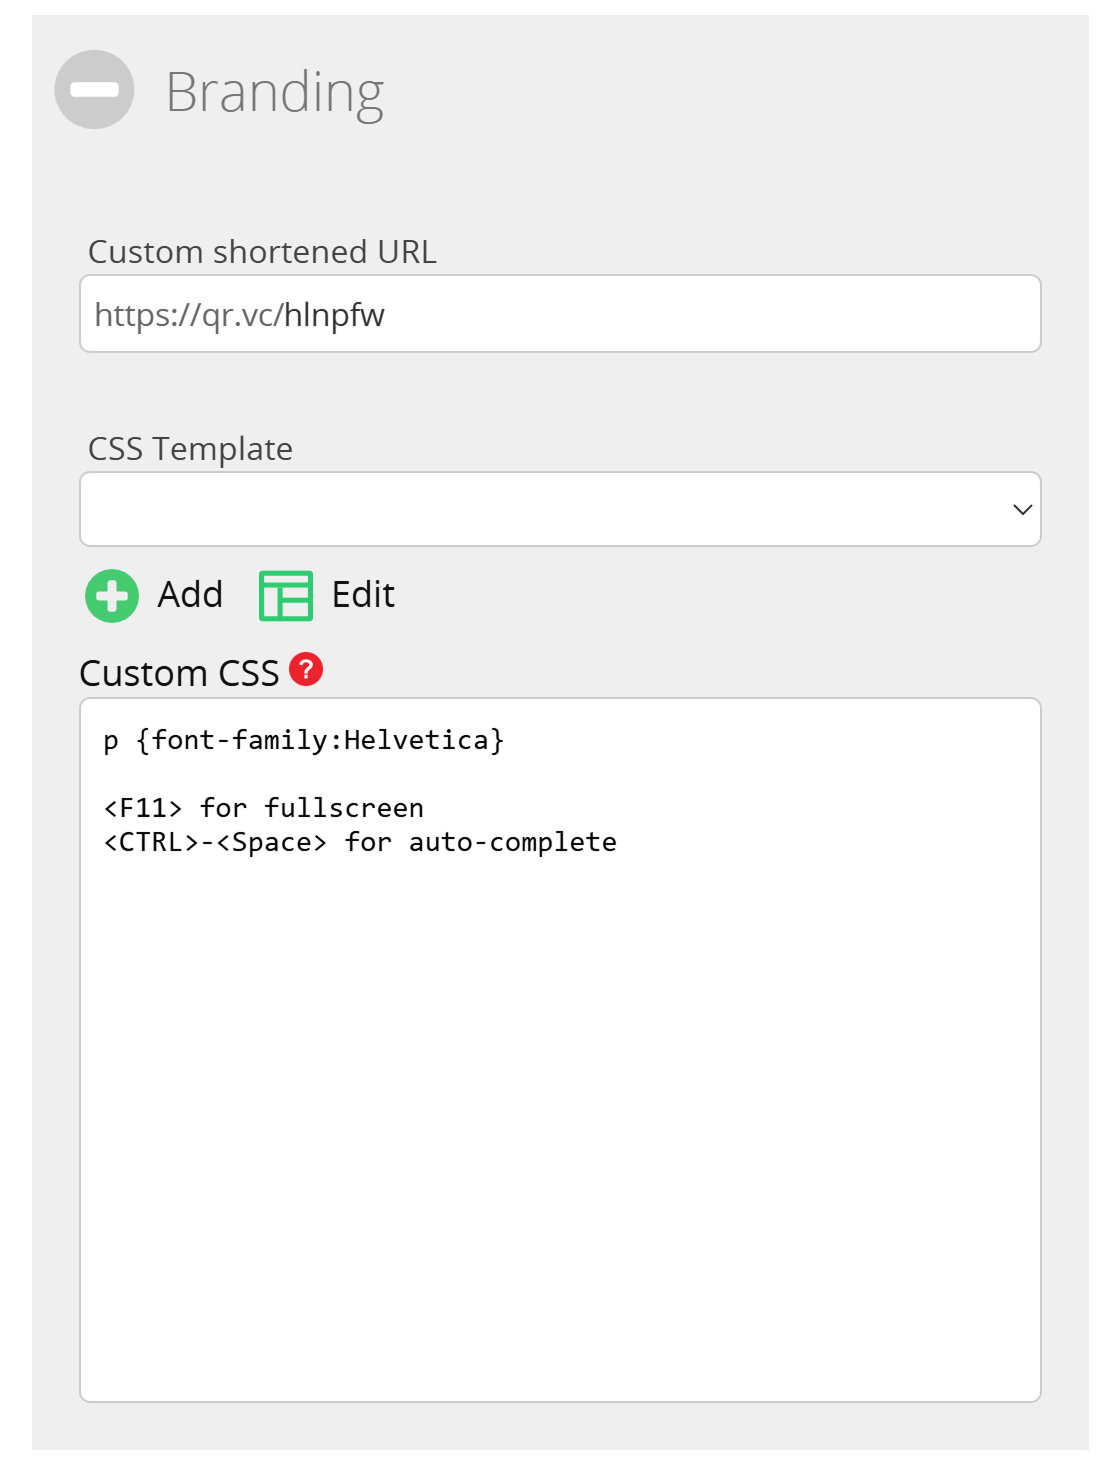
Branding
Apply your own Branding by injecting CSS Code or using a predefined CSS template. Please read this article for more information on the use of CSS in your Landing Pages.
Extras
The Extras pane allows you to set additional options:
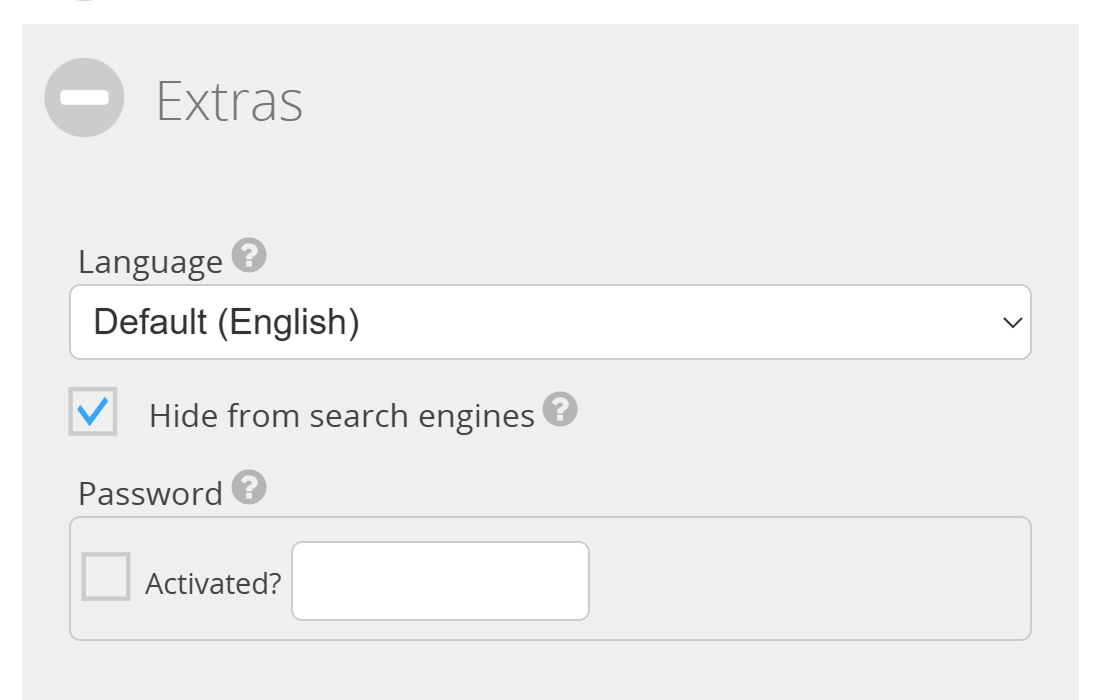
Language
Specify the language in which the landing page should be displayed to the visitor. By default, the page is displayed in the language that you have specified in your account. You can overwrite the language or select to set the language depending on the browser of the visitor. If the language sent by the browser is not available, the language set in your account will be used as an alternative.
Hide from search engines
Activate this option, if you don't want search engines (e.g. Google) to index this your Landing Page.
Password
Protect the landing page with a password, so only clients that know the password can view this object. Please read this article for more information on password protected QR Codes.
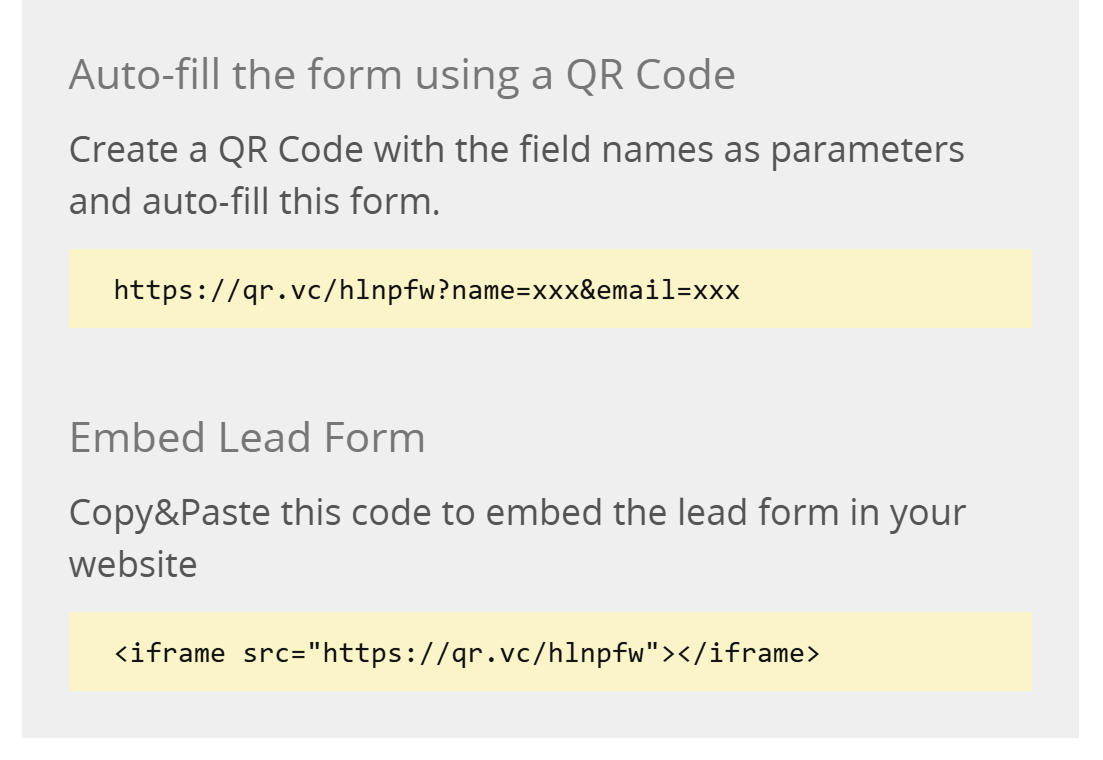
Autofilling and Embedding Options
You can have the form filled via QR Code by using the correct link and also embed the Lead Form in your website.
Integrations
Want to get your new leads into your favorite CRM (Hubspot, Salesforce, ...) or E-Mail marketing platform like Mailchimp or Rapidmail without a fuss? Just integrate your CRM or E-mail marketing platform with your QR account and have them directly transmitted!
Please visit this page to get more information and to find a range of tutorials for the different integrations offered.

How can I get to my collected leads?
1. Download Form data
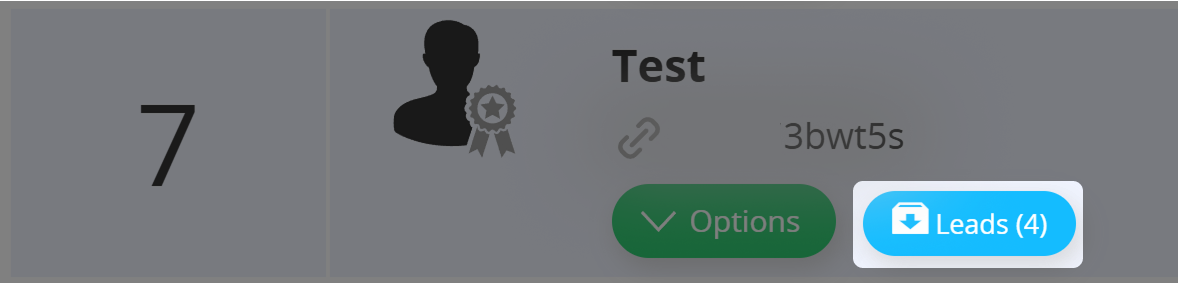
You can retrieve all submitted form data by clicking on the lead icon in the landing page's option context menu when logged in to your account. You may also use the API.
Referral QR Code Injection
If you create a QR Code and forward the user to a lead landing page, the lead landing page will include referral QR Code vanity URL. The code is added as a hidden field in the form and submitted as well.
<input type="hidden" name="referercode" value="abcdef">
Auto-Fill form with QR Code data
If you have added JSON information in a QR code that matches an ID of an input field, it will automatically be filled with the value that is stored in the QR code.
Access JSON data from injected referral QR Code
If you added semi-structured JSON information to a QR Code you can access the JSON information through JavaScript with the refererJson variable.
// the injected JSON from the referral QR Code
var refererJson={"info":"test"};


// access the refererJson-object
alert(refererJson.info);